Behind every crisp barcode or label lies a fascinating process that involves precise data transmission and controlled heat application. By investing countless hours studying technical manuals and real-world applications, we’ve gathered valuable insights to unveil both common misconceptions and hidden complexities of thermal printing.
Let’s explore this essential technology step-by-step, bringing clarity to each component and shedding light on its varied applications.
Overview of Thermal PrintingThermal Printing is a method that uses heat to print images on a material. See Direct Thermal and Thermal Transfer More
Imagine a world where you could print without the need for ink cartridges or toner refills. That’s the magic of thermal printing! By using heat to create images on paper, this sophisticated technology has become an integral part of countless industries. There are mainly two types of thermal printing: direct thermal printing and thermal transfer printing.
- Direct Thermal PrintingThermal Printing is a method that uses heat to print images on a material. See Direct Thermal and Thermal Transfer More: This method utilizes heat-sensitive paper that darkens when it comes into contact with heat, making it perfect for short-term or indoor use.
- Thermal Transfer PrintingThermal transfer printing is a digital printing process that uses a thermal printhead to transfer ink from a ribbon onto a label material. The process involves using a thermal transfer... More: In contrast, thermal transfer printing uses a heat-sensitive ribbon to transfer ink onto the printing material, yielding long-lasting and durable prints.
For example, think of direct thermal printing as ideal for things like shipping labels that only need to last a short time before reaching their destination. In contrast, thermal transfer printing, due to its durability, is perfect for creating products like ID badges which need to withstand more wear and tear.
Applications of Thermal PrintingThermal Printing is a method that uses heat to print images on a material. See Direct Thermal and Thermal Transfer More
Now, let’s talk about how thermal printers are used across diverse sectors. From retail to logistics and beyond, here are some key applications:
| Applications | Description |
| Barcodes | Used in virtually every industry from retail to healthcare |
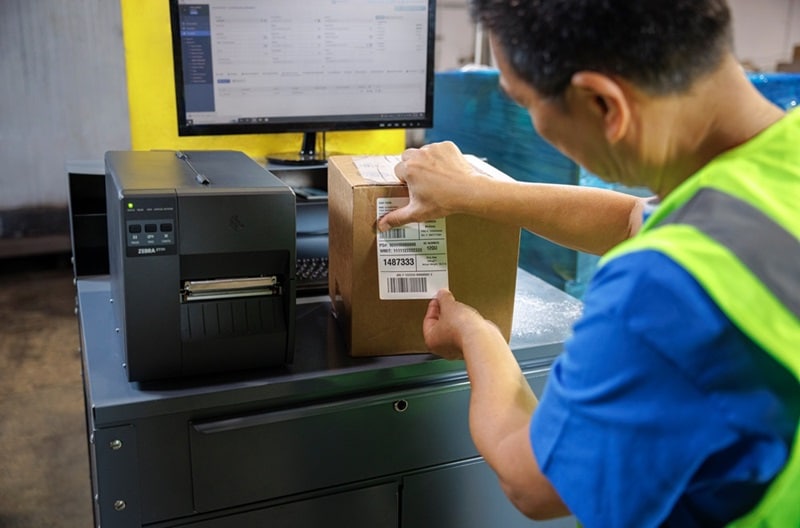
| Labels | Product labeling or addressing packages efficiently |
| Receipts | Swiftly printed receipts at the checkout |
| ID Badges | Creating durable and professional-looking ID badges |
The logistics and retail sectors, in particular, rely heavily on thermal printers for creating shipping labels and price tags rapidly and reliably. Imagine the efficiency of being able to print out hundreds of shipping labels in minutes instead of hours—that’s the power of thermal printing technology.
Key Components Explained
Understanding the key components of a thermal printer is like knowing the players in a well-coordinated team. Each component has its designated role, contributing to the overall efficiency and quality of the printing process.
Let’s break down these key components one by one and explore their significance in the thermal printing system.
Print Head
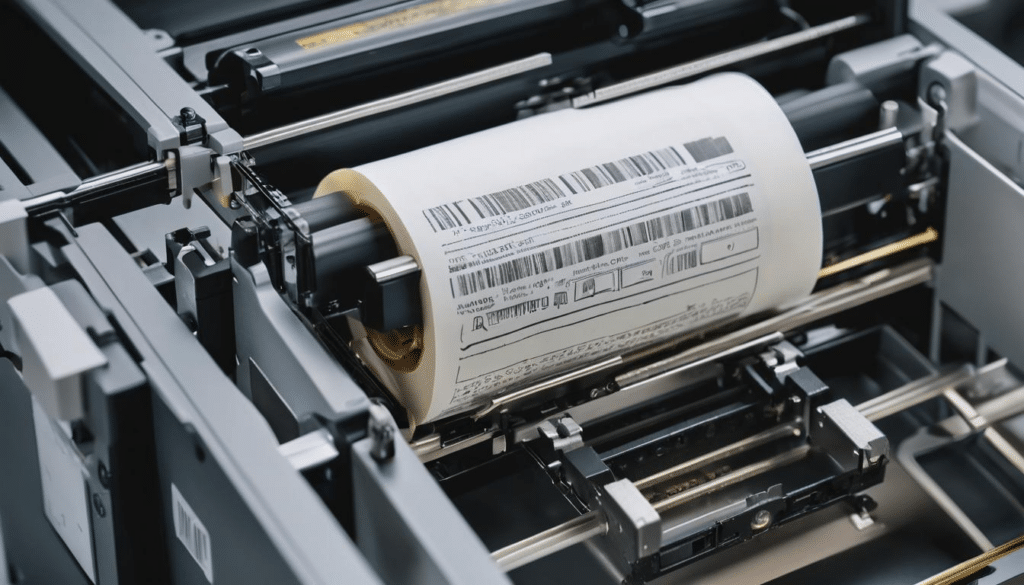
The print head sits at the heart of a thermal printer, acting as the conductor orchestrating the entire printing performance. It generates heat in precise areas, causing the thermal paper to react and produce text or images. The print head must endure frequent exposure to high temperatures, making durability a crucial quality—it’s akin to a skilled artisan crafting delicate artwork with precision and endurance.
Rollers
While the print head commands the show, the rollers dutifully guide the thermal paper through the printer with utmost precision. Accurate alignment by these rollers is vital as it ensures smooth feeding of the paper, preventing unwanted jams that could disrupt the printing process—a bit like a synchronized dance ensuring seamless movements without any missteps.
Control Circuitry
The control circuitry serves as the brain of the printer, interpreting digital data and translating it into actionable instructions for the printer’s heating elements. Much like an orchestra conductor reading musical notes, it manages and coordinates all internal operations, ensuring that each element works harmoniously to create a perfect image or text on the thermal paper.
Power Supply
Just as a reliable source of energy is vital to keep our own bodies functioning optimally, a stable power supply is equally crucial in maintaining consistent operation of all electronic components within the thermal printer. It provides unwavering support to ensure that every aspect of the printer operates smoothly, ultimately preserving print quality and speed.
Understanding What Printer Ribbon You Need For Your Labels
There are 2 main considerations as to what ribbon you need for your labels to ensure a good-quality print.
- The label material (substrate) being printed on, and
- The application or conditions the print will be exposed to (UV, heat/cold, moisture, rubbing/abrasion, chemicals, etc).
If you are unsure which ribbon you need, simply get in touch with your printer model and we can help you. Click here to download the Thermal Ribbon Guide
Step-by-Step Printing Process
When you hit the print button, your thermal printer kicks into action. Here are the steps that take place behind the scenes to give you a clear, sharp label or receipt.
Step I – Pre-Printing Setup
Before anything else, the first thing you need to do is load your thermal paper or ribbon into the printer. This step is extremely important because if it’s not done correctly, you could end up with poor-quality prints or worse, the paper might jam inside the printer.
For direct thermal printing, it’s essential to ensure that the paper is correctly aligned within the printer. Even a slight misalignment can cause issues and affect print quality. On the other hand, for thermal transfer printing, the ribbon must be loaded accurately to facilitate the smooth transfer of ink onto the printing material.
Step II – Data Transmission
Once your paper or ribbon is loaded correctly, it’s time for the data transmission. The printer receives digital data from a connected device—this could be sent over USB, Bluetooth, or a network connection. This data essentially provides guidance to the printhead on how to form the image or text on the printing material.
For instance, when you send a label design for printing from your computer to a thermal label printer via a USB connection, the digital file contains instructions for the printer on where and how to place text, images, and barcodes on labels.
Step III – Applying Heat
Now comes the most crucial part of the process—the application of heat. The print head heats up and applies the necessary temperature to create the intended image or text either directly on the thermal paper or by transferring it via the ribbon.
In direct thermal printing, where labels are exposed to heat from the print head, the areas exposed to heat will turn black, creating the desired image or text without any ink or toner.
On the other hand, in thermal transfer printing, heat from the print head melts ink from the ribbon onto the label material, resulting in more durable and long-lasting prints compared to direct thermal printing.
Step IV – Final Output
Once all this is done, there’s no waiting around for your prints to dry—thermal printers instantly produce dry prints. This makes the entire process extremely efficient, allowing for quick and seamless production of labels, receipts, and more.
And once everything is printed out as desired, some printers will automatically cut the paper for you before expelling it out of the printer—a neat finishing touch to wrap up what’s often an impressively streamlined process.
From setting up and aligning materials to applying heat and finally releasing those perfectly printed labels or receipts—every step in this process serves an essential role in ensuring high-quality output with speed and efficiency.


